Last time, I took you through the supplies you need to get started on canning, along with a healthy dose of inspiration for why canning is so awesome. This time, I’m taking you step by step through the easiest and best recipe to get you started: canning applesauce. There is nothing better than homemade applesauce, and if you’ve only had the store-bought version, prepare yourself for the taste-bud party that is to come.
Ingredients:
About 3 pounds of apples per quart jar (this varies by a lot)
Water
Sugar
Station Set-Up:
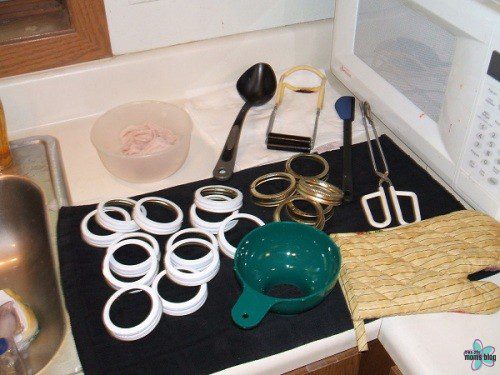
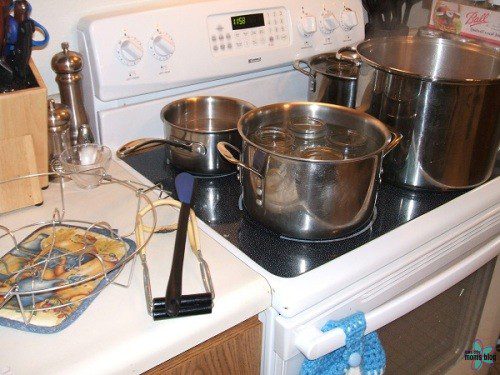
I like to start by setting up my whole canning station before I begin cooking anything. Get out your funnel, jar lifter, ladle, a wooden or plastic spoon, canning rack, lids and bands, jars, a clean washcloth for wiping the tops of the jars, and a towel to place your finished jars on.
Stick your jars in the dishwasher for a nice hot wash cycle. If you keep your empty canning jars in the garage like me, a run through the dishwasher will accomplish the tasks of removing dust and spiders, as well as bringing your jars up to a nice hot temperature to reduce the (admittedly small) risk of shattering when you add boiling hot sauce to them later. If you don’t have a dishwasher, a thorough hand-washing with soap and a rinse in hot water will do the trick.
Keep jars hot until ready for use, either in the dishwasher or in a pot of simmering water. While you’re at it, get out your canning pot and fill it up with enough water to cover your jars by 1-2 inches of water. You can always remove some later if you over fill. (If you want, your canning pot can double as the pot you keep your jars hot in…fewer dishes bonus!)
Making The Sauce:
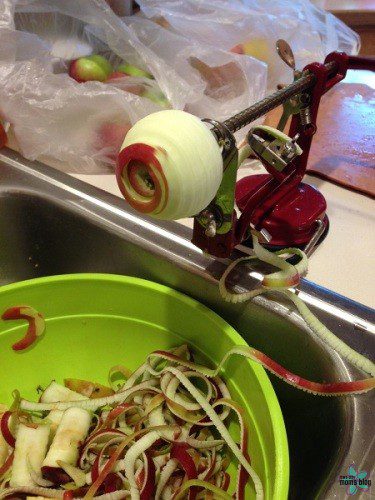
Wash your apples, remove the core and peelings, and slice them into chunks. The handy-dandy corer/peeler/slicer gadget makes quick work of this; a knife, slightly longer work. Toss apples into a large covered saucepot with just enough water to prevent sticking. (If you use too much water, you can always boil some off later, but you can’t undo burnt sauce!) Cook apples until soft, stirring frequently.
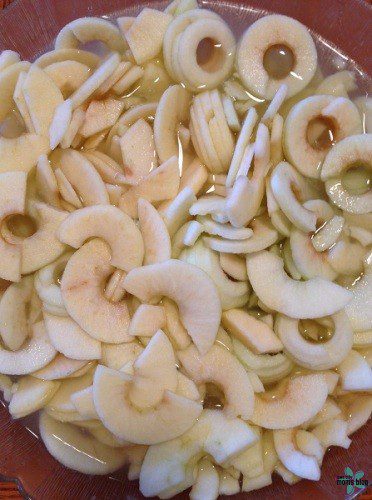
Once the apples are soft, use a food processor or food mill to puree them to the consistency you like: just a couple pulses for a chunky sauce, if that’s your style. If you puree too long, your sauce can end up a little on the baby food side, so go easy. If you don’t have a food processor, a potato masher and some elbow grease can accomplish the same thing.
Return the apple pulp to your stock pot, adding sugar if you think it needs it, but if you’re working with sweet apples or you like a tart sauce, feel free to skip the sugar. ¼ cup sugar per pound of apples is a good estimate, but just go by taste.
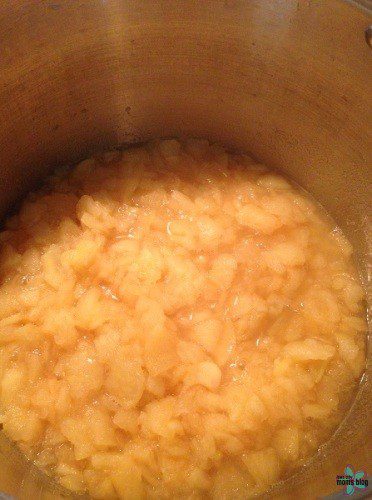
Bring sauce to a boil (212F), stirring constantly to prevent sticking as well as explosive eruptions of boiling hot apple lava. Now ideally you’re supposed to keep the sauce at a boil while filling your jars. However, I find that as you remove sauce from the pot, the smaller amount left starts to boil even more vigorously, resulting in all kinds of apple-lava-splashing and potential burns. So don’t feel bad if you need to turn down the heat a bit. (Ball Blue Book did not approve of me telling you that.)
Filling the Jars:
Using your funnel, ladle hot sauce into your hot jars, leaving ½ inch of space at the top (called headspace) which is very important for insuring a good seal. If you overfill, the sauce will boil out the top of the jar, ruining the seal. If you underfill, there will be too much extra space to create a good vacuum, preventing a seal. Use the wooden or plastic spoon handle to stick down in the jars and release any air bubbles that might be trapped. This may change the headspace you started with, so add or remove sauce to make sure the headspace is ½ inch.
With a clean damp washcloth, wipe down the rims of the jars to remove any apple residue, and then place a lid on each jar. Add a band over each lid, only screwing it on very gently until it juuuuust meets resistance with your fingertips. This is called “fingertip tight”. The idea is to hold the lid in place just enough so it doesn’t float away, yet still loose enough that there can be an exchange of gases through the sides of the lid until the seal is achieved.
Process Those Puppies:
Use your jar lifter to put each jar onto the canning rack, arranging them evenly and without any of them touching. Slowly lower the canning rack of jars down into your boiling water canner, being careful not to let any of the jars topple over. Have a good oven mitt and long pair of tongs ready to upright any downed jars, just in case a jar topples over and your jar lifter can’t reach low enough into the water. Once the water is at a full rolling boil, start your timer for 20 minutes. The water must remain at a full rolling boil for the entire 20 minutes of processing, so check it and use the lid to keep the heat high and constant.
Let ‘Em Be, and Listen for the PING!:
When the time is up, turn off the heat and slowly remove the canning rack from the water. Most canning racks are equipped with “ledges” on their handles that allow you to rest the rack on the rim of the canning pot for a few minutes to allow the sauce to come down in temperature slowly and avoid an extreme shock to the jars. As you might expect, extreme shock is to hot jars what rocks are to windows, so avoid jostling your jars together or putting them somewhere cold.
Let them sit above the water for 5 minutes or so, and then use your jar lifter to spread them out on a towel in your kitchen, away from heat sources. Pick a place where they can stay for the next 24 hours, and resist the urge to poke the tops of the lids or mess with them at all.
Don’t tighten the bands, don’t test the seal…just don’t.
You may start to hear the PING! of the lids sucking down onto the jars immediately after removing them from the boiling water. However, a vacuum can still be formed up to 24 hours after processing, so DON’T TOUCH and potentially ruin the magic that is yet to happen. After 24 hours, any jars that haven’t sealed can be put in the fridge and eaten right away, or reprocessed (clean jar, new lid, reheat, the whole shebang) if you feel so inclined.
Storage:
If you use tested recipes, correct processing methods and times, and proper storage techniques, home-canned foods can be kept for one year. After one year, the quality of flavor, color, and nutritional value will begin to lessen. To maximize shelf-life, remove the bands and wash the outside of each jar to remove food residue. Leave the bands off, and store jars in a dark, dry, cool place with a temperature range of roughly 50-70 degrees. Avoid direct sunlight, heat, or freezing temperatures.
Enjoy:
When you’re ready for some soul-soothing appley-goodness, open a jar with the side of a spoon to break the vacuum, and look back on these gorgeous fall days with a happy heart.
***This recipe is taken and adapted from the Ball Blue Book Guide to Preserving, AKA “The Canning Bible”, with my own commentary and sidenotes thrown in for good measure.


Looks yummy! I totally want one of those corer/peeler/slicer do-hickeys! 🙂
I love reading your articles. And I love the ping when the seal sits. I didn’t make applesauce this year because my tree didn’t give me any apples, but I have some left from last year’s bounty. I think I’ll have some for supper.
Love you,
Aunt Debbie