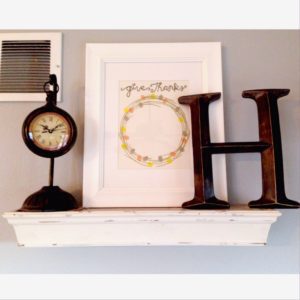
When Halloween is over, I can’t wait to get my decorations put away and just have some simple Fall decor before the glisten and glow of Christmas decorations take over my house. I have a white frame that I keep on my shelf in my family room, and I like to rotate it out with a fun printable or holiday picture. I didn’t have anything for Fall, so I went in search for something and stumbled upon this cute fingerprint wreath printable that was for sale. But the problem is, the budget is a little tight this time of year, and my brain is always working with the common phrase of ” I bet I can do that by myself.” I enjoy the challenge, so I went ahead and tried my hand at it {no pun intended} and it’s a fun way to get the kids involved in a rainy {or snowy} afternoon craft project as well! I had almost everything I needed at my house already, all I had to purchase was a yellow stamp pad, so total this “craft” cost me just $3 out of pocket. And I love that it documents those cute little kid fingerprints while serving it’s purpose! 😉 I went ahead and put a short tutorial together for you…enjoy!
Fingerprint Wreath
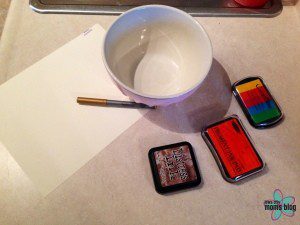
1. Gather your items. You will need:
- a piece of white or cream cardstock
- a bowl ( make sure it is smaller than your frame so that the edges of your wreath don’t get cut off)
- a gold, brown or grey marker for tracing your bowl to make the wreath
- brown, orange, and yellow stamp pads ( stamp pads are on sale at Michael’s right now!)
- the person you want to use for your fingerprints 😉
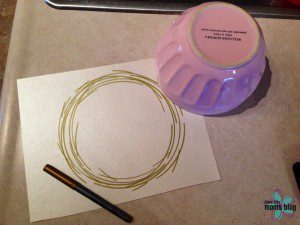
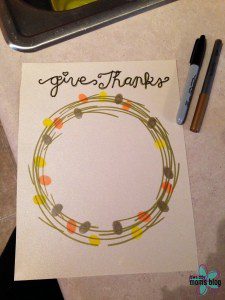
2. Trace the edges of your bowl while moving your bowl slightly up and down, side to side. Keep eye-ing your wreath to make sure it is symmetrical. You won’t be drawing complete circles, but half circles around different sides of the bowl to make it look like a wooden wreath.
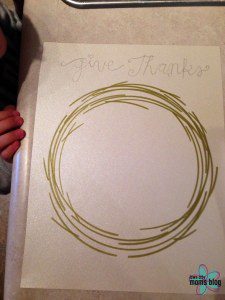
3. After I made the wreath, I penciled in the words “give thanks” which I would trace over at the very end.
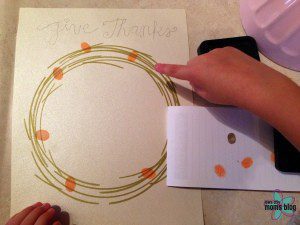
4. Now get your little fingers and put them to work! We did one color at a time, alternating colors on the wreath to make the fall leaves. Boston loved being included in the project since usually my crafts don’t involve the kiddos 😉
5. Trace over your penciled letters with either a gold or black marker ( I did both) and find a place to display your new Thanksgiving decor!
I love the simplicity of it, and I love that we made it together! Hope you enjoy!
{If you are interested in purchasing the pre-made wreath, you can find it in the etsy shop Married in May Designs.}






This is so cute! Love it!
This is a great idea. There’s nothing like a homemade craft that you will cherish forever.
Hello There. I discovered your weblog using msn. That is a very smartly written article.
I will be sure to bookmark it and come back to learn more of your useful info.
Thank you for the post. I will certainly comeback.