Updated March 4, 2021
When we moved into our home four years ago, my husband and I promised each other that we would do more home projects to put our personalities into our home. Four years later, we don’t have any family photos on the wall, and while I have a concept in mind for each room, I never want to redo a room unless I can do it all at the same time. I want instant gratification.
Remember Trading Spaces? One room, two days, and a tight budget to transform it. Okay, okay . . . it was $1,000 and they had Ty Pennington and professional designers . . . but that’s the kind of instant gratification I want in a weekend project. Unfortunately, that’s rarely do-able with our budget, busy schedules, three young kiddos, and running an in-home daycare that requires rooms to be functional.
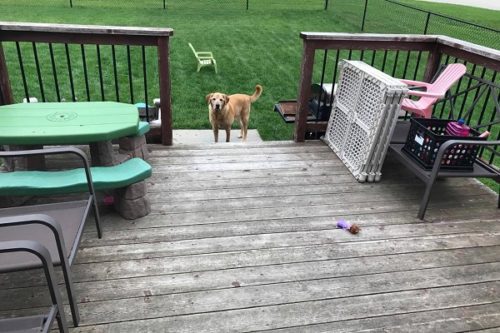
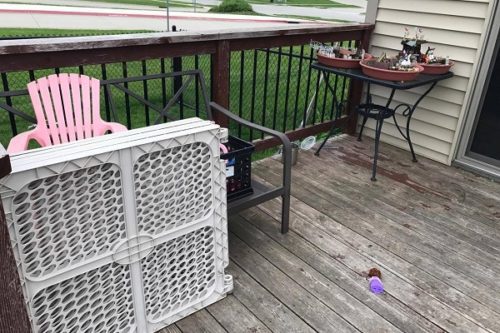
Last month, I looked outside at our deck and cringed. The original stain was nearly gone. The surface was packed with kids’ picnic tables, random toys, and cushion-less furniture. It was a mess. I wanted a place where my family wanted to be outside. My kids were outgrowing some of the kid furniture and I desperately wanted something that was colorful and inviting, but most importantly kid-friendly. So, I gave myself one weekend and a tight budget (excluding the money spent on replacing our grill).
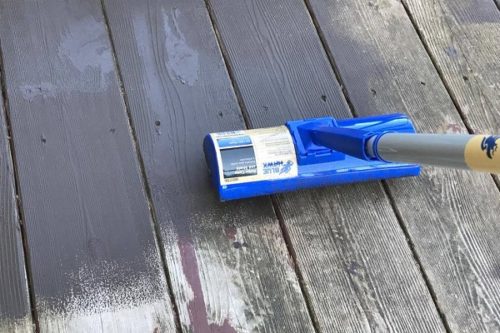
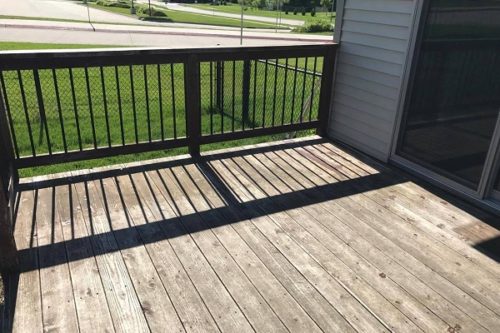
After briefly researching “staining a deck,” I drove to Lowe’s to pick up a color that would cover what was previously there. I won’t pretend to know anything about staining a deck. I have no doubt my husband will redo it next year. Either way, it’s better than it was and I’m glad I just did it.
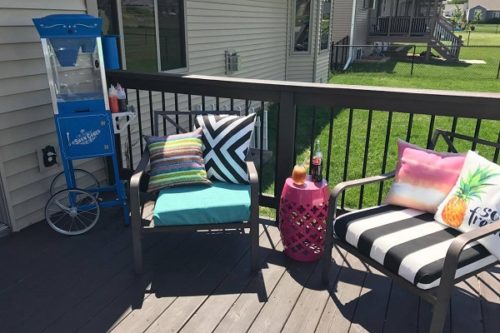
What was most important to me was the furniture. I’ve looked at replacing the cushions for our patio set for the last couple years. Unfortunately, every time I started shopping I decided it would be equally as expensive to just replace the whole patio set. I knew I could DIY something, but I really dislike sewing.
I finally found a project that anyone could do. It’s incredibly affordable, versatile, and most importantly, it’s fast! I mean, like, once you have your supplies ready to go, you can throw this together in five minutes. No joke.
No-Sew DIY Patio Cushions
Supplies:
- Cushions or padding
- Plywood
- Outdoor fabric
- Upholstery stapler
Directions:
First, measure the size of cushion you need.
I, unfortunately, threw out my cushions two years ago before I realized I could have reused the actual cushion. If you have cushions do not throw them out! This is the most expensive part of this project. If you don’t have cushions, you will need to purchase upholstery padding. My chairs were both 22”x22”. I found pre-cut 4” thick 22”x22” padding at Hobby Lobby. These aren’t cheap, so take advice from someone who knows how to get a deal at a craft store. Hobby Lobby has a 40% off one item coupon every week. You can use one per purchase. Have two chairs? Bring your husband, partner, friend, or friendly stranger along and you can each purchase one.
I made the decision to keep the cushions inside their plastic packaging for extra protection. However, for my loveseat, I had to get a roll and cut it down to size (as seen in photo).
After you have the cushions, you will need to cut a piece of plywood roughly a few inches smaller than the padding. I had them cut approximately 20”x20”.
Once you have your dimensions, you can purchase outdoor fabric. It’s always best to have too much. To figure out how much you’ll need, take the length, plus the width of your padding (x2), and add a minimum of 6” for upholstering. (My measurements were 22+4+4+6=36” so I purchased 1.5 yards of each fabric for my chairs to be safe.)
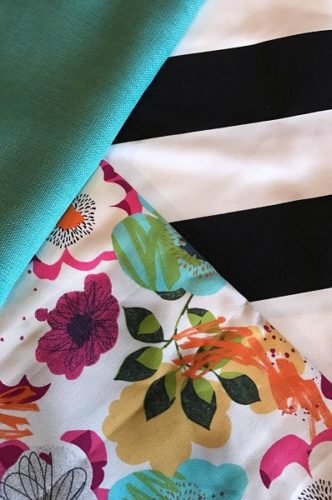
Picking the fabric was my favorite part of making my own cushions. I had the freedom to mix and match patterns and colors. I could make it as bold as I wanted, knowing I had the freedom of easily reupholstering it if I wanted to change it next year.
Before upholstering, make sure you take the time to iron your fabric.
Once you have all your supplies, place your fabric upside down on a hard surface. Next, center your cushion on your fabric. Then, center your plywood on top.
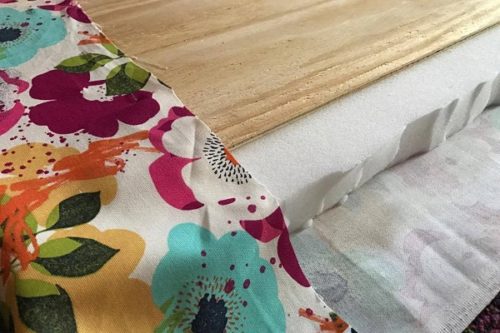
To upholster, start on one side and pull fabric up over the plywood and staple into place in the center. Then pull fabric tight on the opposite side and staple into place. Continue stapling each side to secure. Take time in folding your corners so each corner matches. Once you have securely stapled all the edges you can trim any excess fabric if you wish.
Instead of making cushions for the back of my furniture, I opted for accent pillows. I got a collection from Hobby Lobby, Michaels, and Joanns (all with huge sales and coupons). I also picked up a couple black and white pillows on clearance that I sprayed with Outdoor Scotchguard Fabric Spray.
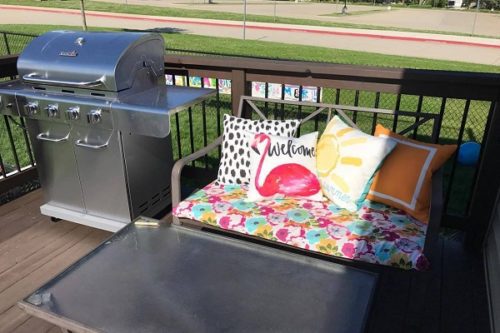
That’s it! This is an easy project that makes a big effect, so give it a try!
Related: Check out more spring topics from Iowa City Moms.
Originally published July 3, 2017





Awesome idea. Thanks for sharing.
This is brilliant; I really like the fabrics you chose, so atypical for patio furniture. Great tips on using a staple gun instead of sewing, deals at Hobby Lobby and Joann and also I had never heard of Outdoor Scotchgard Fabric Spray; you’ve saved my summer 2021, thanks!