Thanksgiving is one of my favorite holidays, and one of my favorite parts about it is the food. I love it all! Turkey, dressing, mashed potatoes, gravy, sweet potatoes, green bean casserole, cranberry sauce, and PIE…all kinds of pie. Pumpkin, pecan, and apple all deserve at least a bite. In my family we’ve been known to ask for “half a slice” of several pies in order to try them all and feel a little less guilty about it.
For the past several years my mom has been in the process of passing the Thanksgiving torch to me, and each year I’ve taken on more and more of the preparation process on my own. This year might even be the year that I tackle the turkey all on my own! (Mom will still be on speed dial in the process, though!) I’m by no means a fancy cook or an expert dinner planner, but I have really come to enjoy hosting the family meal with all the trimmings. However, this year, having a three-year-old who loves to “help” in the kitchen along with being eight months pregnant, may necessitate a few time- and space-saving tricks that I have picked up along the way. Here they are:
1. Brine the turkey!
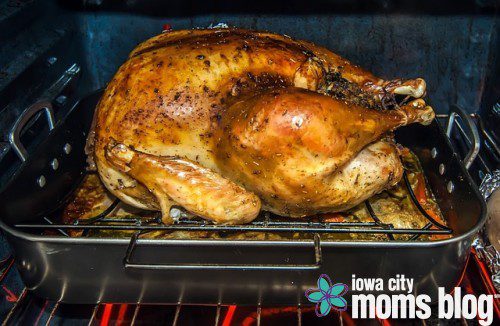
Okay, so this one requires a little bit of forward planning, because you need to have the turkey thawed and ready to get started the day before. Brining the turkey basically means putting it into a liquid solution containing a large amount of salt, herbs, and aromatics and allowing it to soak for 12-24 hours PRIOR to when you plan to start cooking your bird. Through the magic of science and osmosis, the high concentration of salt in the solution helps to drive liquid and flavor INTO the flesh of the turkey. The result? A roasted turkey that stays nice and moist through the entire cooking process without the need to spend lots of time basting throughout the day.
There are any number of brining recipes and techniques available on the internet, but my “go to” can be found here. I only lament that this year I won’t be able to sip on the bottle of wine before adding it to the mixture!
2. Make ahead what you can.
If you can clean out enough space in your refrigerator, many salads and side dishes can be made or at least prepped in the days prior to the big meal. Almost any cold dish (cranberry sauce, deviled eggs, Watergate salad, etc.) can be made at least a few days before, saving you time on the big day. Vegetables and cheese slices can be cut and stored in zipper top bags or storage containers prior to being arranged on appetizer trays.
Even hot dishes like green bean casserole can be completely prepared prior to the holiday and simply popped into the oven when it is time to cook. You may need to add a little bit of time to the cooking time if you pop them straight from the refrigerator to the oven, but I prefer to do this over letting the dish warm on the counter, which can increase the chance of bacterial growth.
3. Make a schedule, working backwards from the time that you want to eat.
This is a trick I learned from my mom. At the bottom of a piece of paper begin your timeline, starting with the time that you want to sit down at the table with food piping hot. Then work backwards from there to determine what time each dish should go in, and come out of the oven, when things come out of the refrigerator, etc. I even include those simple but easy to forget items like, “Put butter, honey, and salad dressing on the table.” Do this the day before, and then on the big day all you have to do is whip out your list and follow your plan!
4. If it’s cool enough outside, use the garage or the porch as an extra “refrigerator” for dishes that are not as sensitive to temperature.
Because if you’re like me, there is never enough room in the refrigerator. Items like cranberry salad, pumpkin pie, and a vegetable platter that aren’t likely to spoil easily can be covered and placed in the garage or even in a sheltered place outside on your back porch to save space in the cold box for those things like deviled eggs, milk, and potato salad that might be a bit more prone to bacterial growth.
5. Skip the place mats–use a tablecloth.
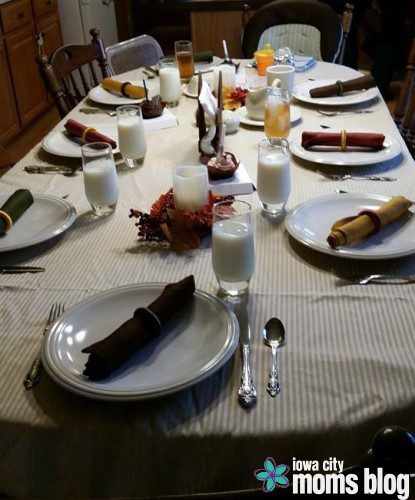
As my sister and I have married and started families, the number around our table continues to grow, and the table size hasn’t necessarily kept up. Since the little ones aren’t really old enough yet to justify a separate “kids table,” I prefer to use a tablecloth over place mats, which allows me to put the chairs just a tad bit closer without people feeling cramped.
6. Give kids a specific job to do, but keep the small ones out of the kitchen.
I love cooking with my preschooler, but on big days like Thanksgiving it can be dangerous to have small children running in and out of the kitchen, especially around hot grease and boiling water. Burn injuries can happen so quickly, especially when the grown-ups are distracted with all the goings-on of the holiday meal. But kids can safely be involved in the preparations when they are given a specific, age appropriate job, preferable away from the stove and other dangerous areas. Young children can set the table, decorate place cards, and help with placing small dishes or condiments onto the table when it is near time to eat. Older children can peel potatoes, arrange vegetable trays, or help with other small food preparation tasks.
7. No matter what happens in the end, remember the important thing is being together.
Whether the turkey burns or the bread doesn’t rise or the dog trips you up as you are carrying your famous pumpkin pie, the most important part of the holiday is celebrating being together as a family. Your family might include parents, grandparents, aunts, uncles, and cousins. It might include friends and loved ones not related by blood but no less important. Your table might be set for 2 or 20. The menu might be turkey with all the trimmings or take-out pizza. The meal doesn’t have to be perfect; the important thing is to take the time to give thanks for the blessings that have come your way and to surround each other in love and gratitude.
Happy Thanksgiving! What are some of YOUR tips for a stress-free holiday meal?


