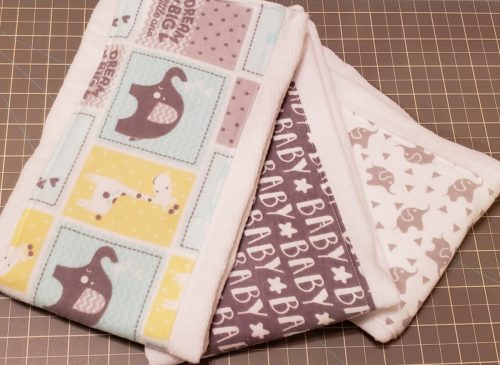
As a crafty mom, I can’t always carve out big or ongoing chunks of time to work on a creative project. That’s just a fact of where I am in life right now with other obligations. I do, however, love it when a project comes up that’s pretty straightforward and can be completed in a finite block of time.
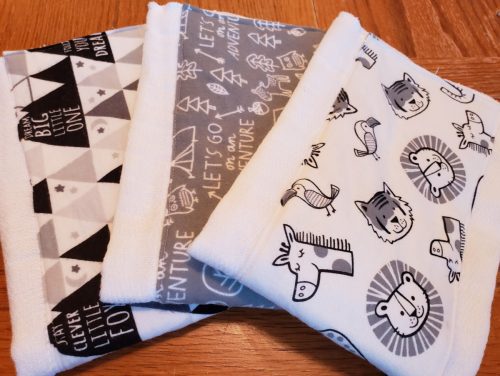
One such project found me ready recently! My sister-in-law, Kara, wanted us to sew some baby burp cloths using cloth diapers. I’m in! She had found some examples of what she had in mind on Pinterest, where cute fabric was sewn onto the middle panel of a tri-fold cloth diaper. So, we spent some time looking and taking the best of the patterns we found online. I like to think we chose the best elements of what we looked at!
Quick and Easy Burp Cloth Tutorial
1. Select your fabrics.
This part was so much fun! Kara and I headed to Joann’s and immersed ourselves in darling patterned flannel. There were so many to choose from, so we decided on a theme and then found coordinating fabrics. We opted for three different patterns for each set we made, but you could do as many as you want. Kara had gotten cloth diapers in packages of 10 for about $13.00, with each diaper measuring about 20 inches long by about 15 inches wide. We got ¼ of a yard of each patterned flannel, planning to get at least two burp cloths out of each. (The fabric we got was 42” wide, so that was just about perfect!)
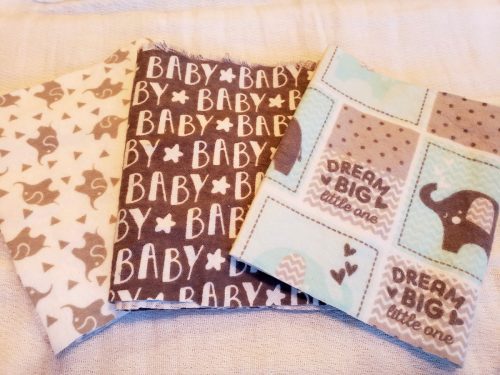
2. Pre-wash the diapers and flannel.
There was some discrepancy among the patterns we found online, but we did pre-wash both the diapers and flannel and were very glad we did! Both the diapers and flannel shrunk, and it would have been bad sending them through the wash after the fact.
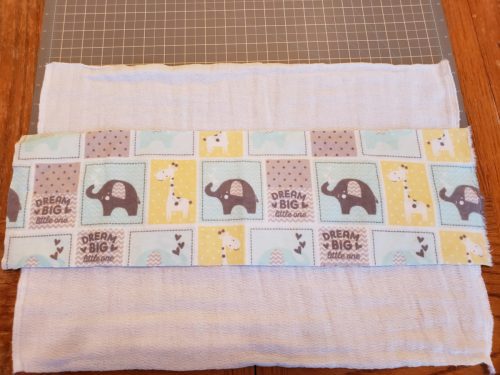
3. Measure the diaper panel to determine how big to cut the flannel.
I opted for a ½ inch seam allowance, so we measured 1 inch more than each dimension. The “art of sewing” came into play here, as the diapers didn’t all shrink exactly the same, so I had to modify as I went. Generally speaking, though, the diapers were about 18 inches long with the middle panels measuring 4-5 inches wide.
4. Cut flannel into long rectangles.
Using the measurements above, we cut the flannel into 20-inch x 6-inch rectangles.
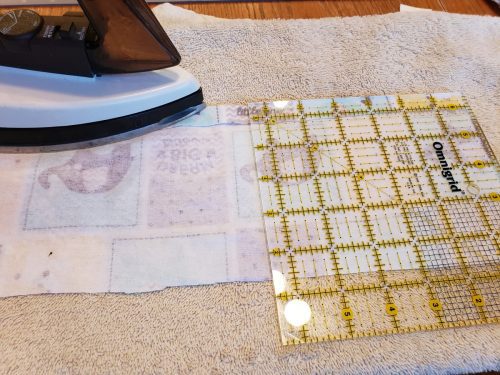
5. Fold edges of flannel under ½ inch and press.
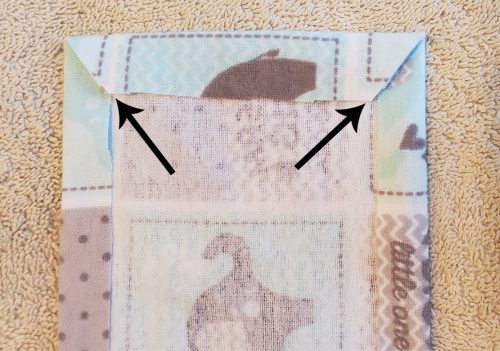
This step is pretty straightforward, but the one tip I would add is to cut your corners on the diagonal where the side and edge folds overlap. This gets rid of some of the extra bulk of the material and makes it easier to sew. It also helps it to lie flat.
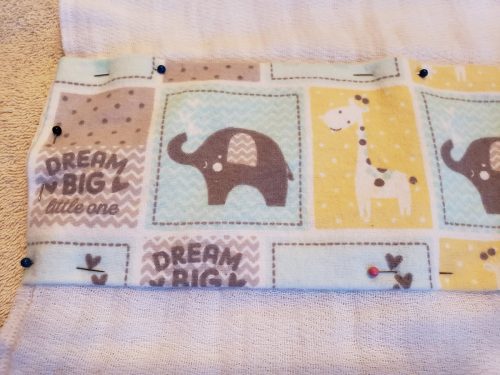
6. Pin the flannel to the diaper.
Pin the flannel to the center panel of the diaper. I looked at both sides of the diaper and chose the least visually appealing side to attach the flannel.
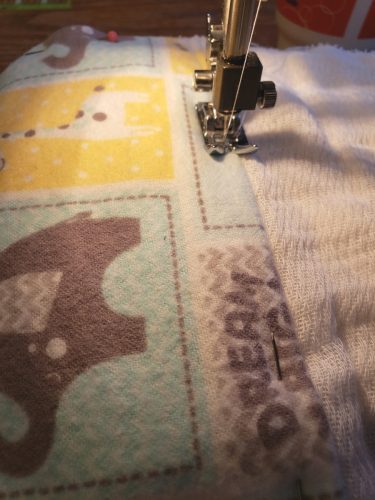
7. Stitch the flannel to the diaper.
With the right side of the flannel facing you, topstitch the flannel to the diaper. I used an inside edge of the presser foot as my guide, but generally, just stitch as close to the edge of the flannel as you can. (Don’t look too closely at the picture below–my sewing was far from perfect, but overall they turned out great!) Don’t forget to either backstitch your start and finish points or overlap your stitching once you’ve gone around the entire piece of flannel.
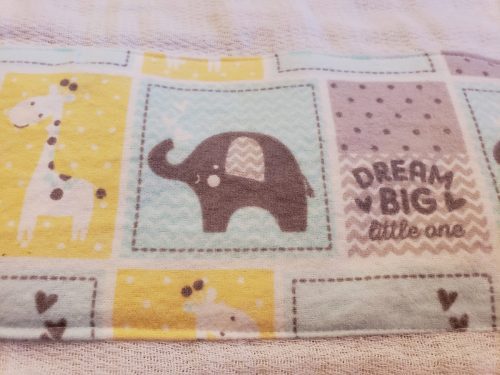
8. Iron
Give the finished burp cloth a quick once-over with the iron, and voila! You have an easy, cute, handmade burp cloth to keep for yourself or to give as a thoughtful baby gift at a baby shower.
