


As a mother to 4, I spend a lot of time in my laundry room, almost as much as I spend in the kitchen. Since I do at least ten loads of laundry every week, I decided it was time to spruce up the laundry room. It is a room that serves double duty with storage and laundry, and since it’s the first room you walk by when you come in the house (from the garage), it sometimes becomes a dumping ground as well. I decided it was time for an upgrade on the laundry room, and I had a goal to spend under $200 to do it.
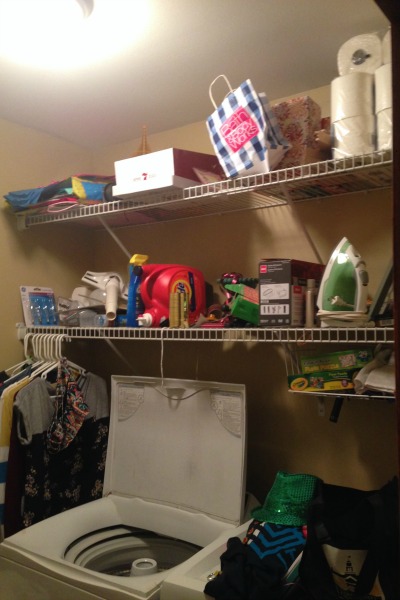
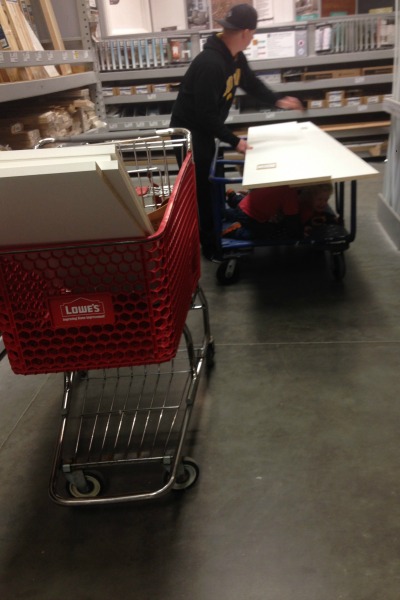
It’s a good sized room, but the shelves weren’t working for me and the layout is a work in progress. The first step to this makeover was the shelves. I started by measuring the room and checking to see how low the shelves could go before they stopped the washing machine from opening. Then it was off to Lowe’s to decide which option would be the most cost effective. For this project I decided on the wood for shelving that is finished in white, that way it saves me the painting step.

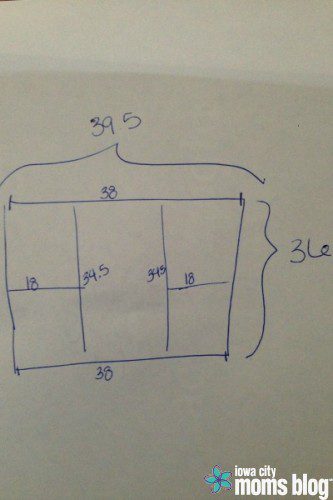
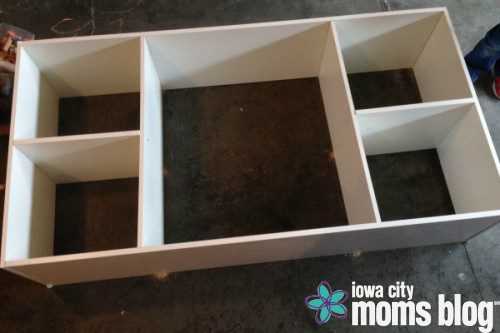
I drew out my plans on a piece of paper and then started doing math to make sure my shelves would make the correct width once they were put together.
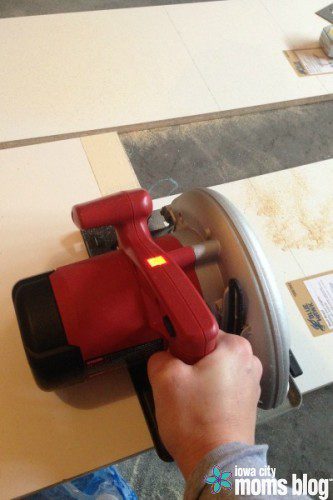
Next came the fun part of cutting the wood. First, I used my tape measure and square to draw the lines on the wood where I would need to cut.
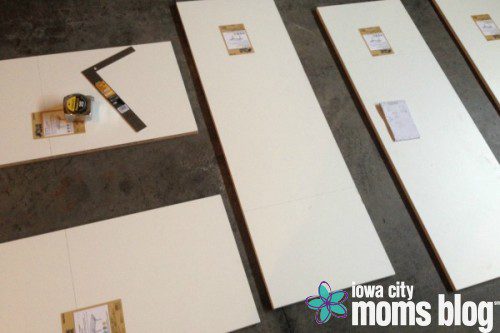
Then came the power tools! I love using power tools, and for this project I got to use my new circular saw. Rule Number One of cutting wood: measure twice and cut once. Rule Two: always use eye protection. Saw dust in your eyes is no joke. When you are using a saw, make sure you use smooth, slow, controlled passes with constant pressure so you don’t get kick back.
Once the boards are cut and the saw dust is cleaned up, lay out the boards in the order of how they should go together. I recommend pre-drilling holes for your screws using a drill bit that is just smaller than your screws.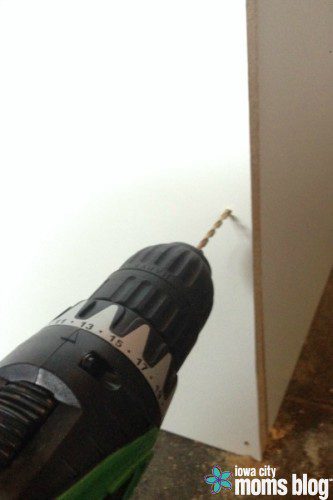
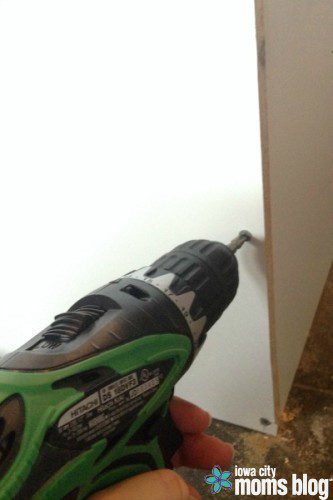
Now that you’re lined up with pre-drilled holes, you can screw your boards together.
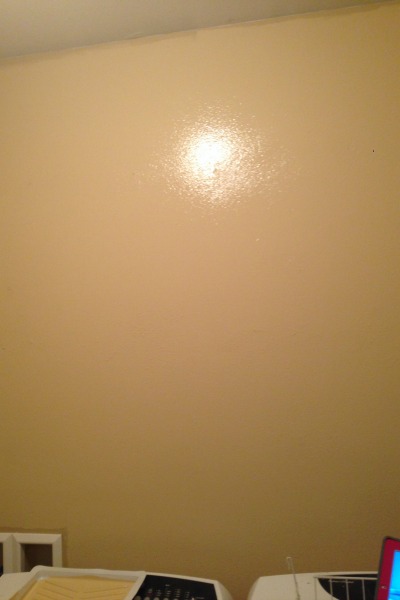
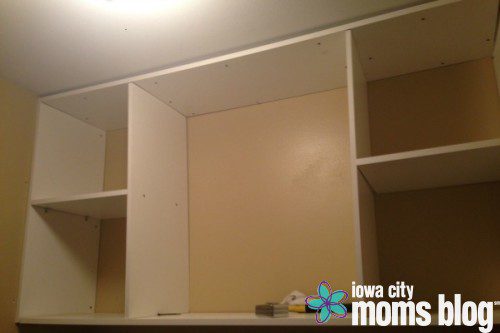
Once you are all put together you can do the really fun part: the install. To prep, I took down our existing shelving and filled the holes with putty. After touching up with paint I hung our new shelves.

The baskets are from Walmart and they are the perfect size to store all sorts of things. They have made organizing all of the stuff I store in the laundry room (stuff for wrapping presents, light bulbs, laundry products).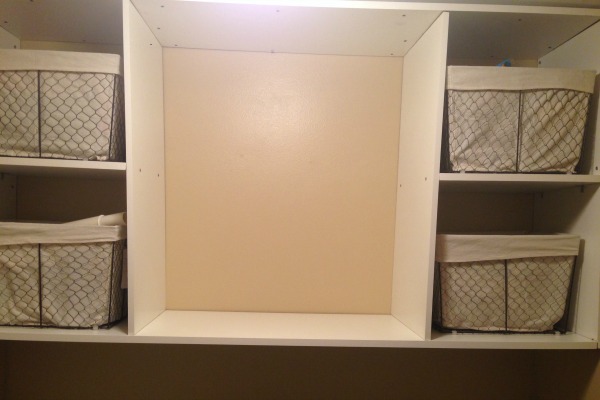
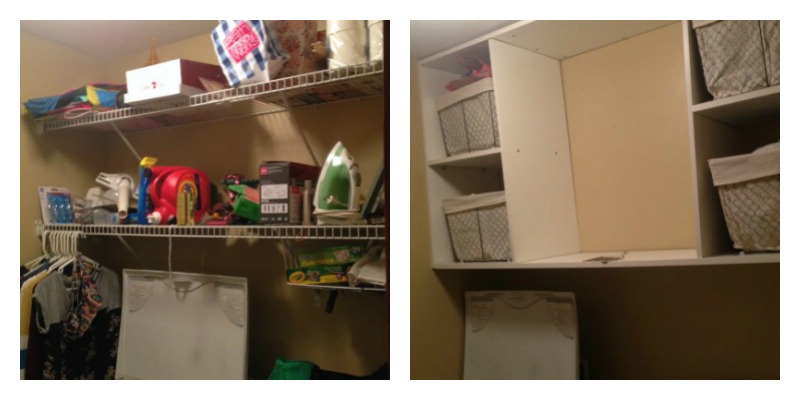
Can I tell you how much easier it is to clean when you are forced to take everything off of your shelves and look at it while asking yourself, “Why the heck do I own this?!?” Needless to say, a lot of purging happened while emptying the laundry room. Fingers crossed that stuff never shows up again!
The next project for this room will be a new drying rack and a shelf between the washer and dryer for laundry soap and dryer sheets. One more Before and After just to see what a little face lift can do:
Total cost so far: $90 for shelving + $40 for baskets
Stay tuned for Stage 2 of my laundry room makeover!


Ashley – I’m impressed! Looks like a job well done – enjoy your results and thanks for sharing 🙂