


I tend to be a person who thinks “I can make that!” or “I can cook this!” when out to eat, shopping, or simply watching TV. Sadly, I rarely follow through with these thoughts. It is much more convenient to purchase bread than to make your own, and it certainly takes less time! On the other hand, the more frugal, old-fashioned side of me really does like to tackle these types of jobs. Fortunately, my most recent “I can make that” idea is truly easy, delicious, and speedy!
For those of you familiar with Larabars, they are a gluten-free, “raw food diet” friendly, yummy bar made very simply. Many of them have only three or four ingredients. Even considering this, I never purchase them unless they are $1 or less. This means that I rarely buy them unless they are very on sale, and even then only if I am feeling a bit spendy.
Only three or four ingredients? I can make that!
The other day at the store I purchased the Cherry Pie flavor. It was delicious, and I was pleased to see that the ingredient list was very short: dates, almonds, and dried cherries. I studied the bar a bit before I scarfed it down, and I decided that it was heavy on the cherries. I already had raw almonds, and I went out and bought dried cherries (unsweetened) and pitted dates. Just like that, I was ready to go!
Although there are plenty of recipes online, I tend to be more of a “guess and test” type of a cook. Sorry about that. Here is my best estimate of my “Cherry Pie” recipe:
Cherry Pie Energy Bars
Ingredients
3/4 c. almonds (in hindsight 1/2 c. is better)
1/2 c. dates
1 c. cherries
Variations:
I bet many different combinations of these would be great! Walnuts would be very tasty! I have also had great success with peanut butter/dates/almonds (my husband’s favorite) along with raisins/oats/almonds.
Instructions
Here is the five-minute process to making some delicious energy bars.
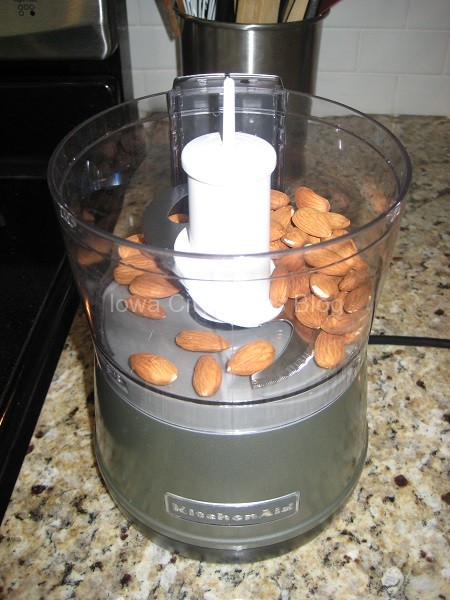
1. Add almonds to food processor and chop finely.

2. Add dates and cherries and blend until the ingredients come together.
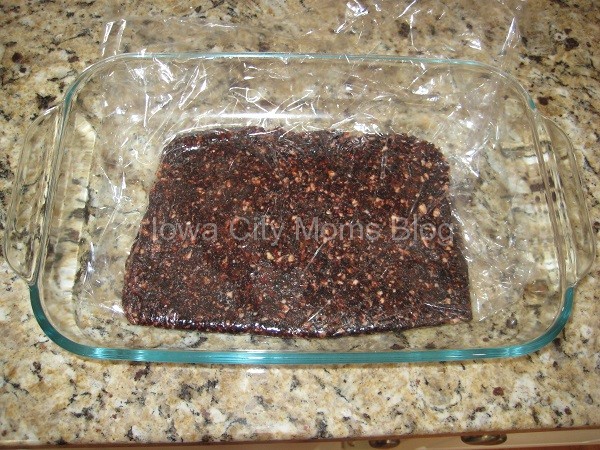
3. Using a plastic wrap-lined container, press bars into desired shape and thickness. I then refrigerated the bars for 30 minutes before cutting. They likely could have been cut right away.
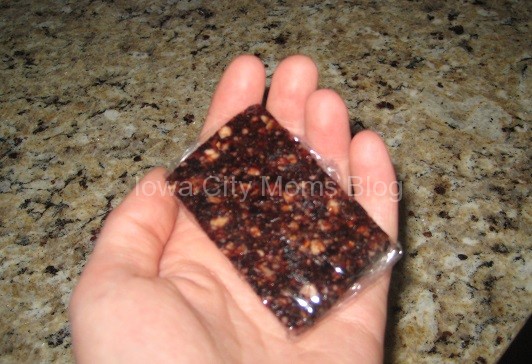
4. Cut into desired size and wrap in plastic wrap for ease of transport, or store them in a closed container. I keep mine in the refrigerator, but they will keep for some time at room temperature.
I truly encourage you to try out this ingredient combination. The best part? My daughter thinks she is having cookies when she is actually having dried fruit and nuts. Score!
SaveSave


